Social Media Marketing: Guide to Setting Up Social Media Pages for Business
Social media marketing can raise brand awareness and bring in new customers. Here’s how to set up social media pages for your business.

Social media marketing offers a powerful way to grow your business. A lot of business owners who are solopreneurs or just starting out wonder if they can just use their personal social media account to market their business. The short answer is no. Many social media platforms will disable or delete a personal account that’s being used for commercial purposes.
There are also clear advantages to using business social media pages. Using a business social media account allows you to track users and posts so you know what posts people see, and what content your followers interact with. A business social media account also lets you take advantage of paid and promoted posts and ads, which you can’t do from a personal account.
So how do we set up business social media accounts? The first step is to set up a business email address just for your social media accounts. That keeps all the notifications organized in one place (and not flooding your inbox). That also makes it easy to give your assistant, social media manager, or other employees access to the account without needing your personal email information.
What You Need to Set Up Your Business Social Media Pages
Setting up your social media accounts doesn’t have to be time-consuming or stressful—you only need your basic business information, a logo, and a photo or two! We put together this guide on setting up business social media pages for the technophobes out there. It really is an easy and simple process, and this guide should give you the confidence to do it yourself.
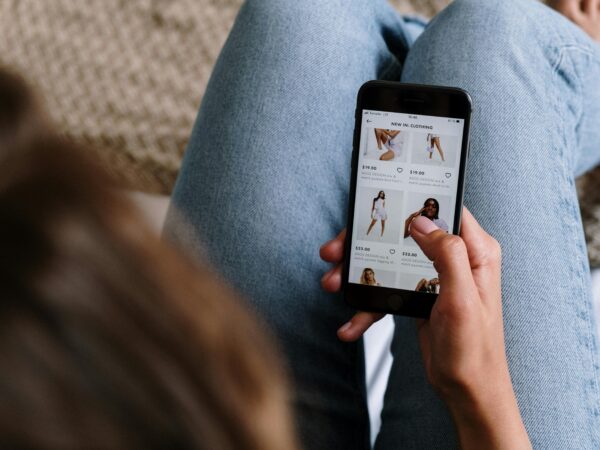
The real work starts when you start using the accounts. For that reason, you might decide to only focus on one or two of your favorite social media platforms. We broke down the signup process for three of the biggest social media networks, since that’s where you’re going to find the largest volume of customers.
However, you need to make sure you’re actually going to update the account, so if you’re not sure which kind of social media marketing is best for your business, a good rule of thumb is to choose the type of social media you enjoy using the most. Instagram, Linkedin, Pinterest, X(Twitter), Facebook, and even YouTube may be great channels for your marketing efforts.Read on for how to create business social media pages for Facebook, X, and Instagram.
Facebook for Business
According to Zephoria Digital Marketing, there are “over 1.86 billion monthly active Facebook users (Facebook MAUs) which is a 17 percent increase year over year. In other words, Facebook is too big to ignore.” That’s a giant pool of potential customers just waiting to be swayed by your brand! Getting your business on Facebook takes just a few steps.
1. Set up Your Business Profile
If you have a personal Facebook page, you’re already familiar with the process of creating a profile. You’ll use your personal profile to set up your business page.
You may choose to use your existing, active personal profile and create the business page from there. Alternatively, you can establish a new “personal” profile that’s just for business purposes. That way you have a separate business Facebook login and a social media manager or agency will be able to get to the account without having access to your personal social media account.
2. Create a Business Page
Once you have a profile, you’ll need to set up your Facebook business page. The page is where you’ll put important information about your business and where you’ll post content and interact with your customers.
To create a page, click the “Pages” header on your profile page. Facebook will then direct you to “Create a Page.” You can then opt for “Local Business or Place” or “Brand or Product.” If you’re a local business, choosing the first option will allow you to add your business address, which will show up on a small map, hours of operation, and other important information about your location.
3. Set Up Your Page
Facebook makes this part easy. Once you create the page and click the “Get Started” button that pops up, Facebook will walk you through the rest of your page setup. You’ll need your basic business information (hours, contact info, location, website, etc.).
You’ll also need to choose images for your business Facebook page. You’ll need a large banner image for the top and a smaller one for your profile. In general, your profile picture should be your logo. That way, users can easily identify your brand. Your banner picture may be a little more creative. For example, you could use a picture of a row of cupcakes from your bakery or a fresh manicure from your salon.
Whatever you decide to put on your page, make sure it’s accurate and brand-appropriate. Use high-quality images and proofread all your text.
For more detailed information, My Video Pro’s How to Setup a Facebook Business Page walks you through step-by-step instructions on how to set up your page.
X (Twitter) for Business
, “310 million are using X (formerly known as Twitter), and there are 500 million messages sent a day.” X is a great opportunity to show your business’s personality and reach a wide audience, and creating a profile is simple.
1. Pick an X Username
Your X username is also known as your handle and may contain up to fifteen characters. It will show up as “@yourhandle.” Your handle is how your audience and customers will identify you on X so strive for one with brand recognition. Try to align your names with your Facebook identifiers so you’re consistent across your social media channels.
Picking an X handle can be tough. You may find that you need to try a number of different options before you find one that’s available. If @yourbrandname isn’t available, switching to @yourbrandname2 or other variations isn’t always the best option. Check out what the profiles with handles similar to your brand name are all about. You don’t want to inadvertently associate yourself with someone problematic.
While it’s ideally your brand name will match your handle, it may simply be impossible. If that’s the case, choose something memorable and related: @sprinklequeen for a bakery, for example, or @getpampered for a salon. But again, be sure to check out similar handles to make sure you won’t be confused for a different brand or person.
2. Upload a Profile Photo and Header Image
Your X profile photo will be the face of your brand on X. Keep in mind that your X profile photo will not only be displayed on your business profile page but will also be the image shared with every message you post. You’ll need a high-quality image. As with Facebook, your brand logo is a good option.
Also, like Facebook, you’ll need to upload a large banner image for the top of your page. Again, choose a high-quality photo that relates to your business. Your header can include photos or graphics with text. Social media pros recommend swapping your X header frequently to keep it fresh.
3. Create Your Business Bio
Your X business biography should include your address, business hours, and a URL link to your business website. Your bio is only 160 characters, so focus on the most important info.
Instagram for Business
While photos are important for Facebook and X, they’re the star of the show on Instagram. According to Sprout Social, Instagram reports “over 500 million monthly active users…[and] is the fourth-most downloaded app in the US.” Instagram also tends to draw younger users, meaning you’ll have an opportunity to tap into the Millennial audience. Getting started is easy.
1. Download the Instagram App
Unlike Facebook and X, Instagram is primarily app-based. You can view it from a desktop, but it’s really designed to work from your phone or tablet. So, the first step is to go through the App Store or Google Play and download the app, which is free. Consider putting the app on every mobile device you use so you can access your account from anywhere.
2. Sign Up for an Account
When you open the app, you’ll have the choice to either start an account using your business email or by signing in through Facebook. If you use Facebook, your business name and profile picture will come up automatically. If you use your email, you’ll need to enter your name and photo and create a password.
Either way, you’ll need to choose a username; people will see that and your profile picture with every post you make. So, choose a username that represents your brand. As always, make sure to keep things consistent across your various social media channels.
At this point, your Instagram account is still set up like a personal account. As part of the setup process, Instagram will give you the option to choose the “business account” setting. Creating an Instagram business account will help you track who is seeing and interacting with your posts. That’s a good way to measure what types of content are working and what you need to change up.
3. Fill Out Your Profile
Now that your account is set up, you can fill it out to better reflect your business. You can tap “Edit Your Profile” to change your business name, username, and profile picture. Add a brief bio to let people know what your business does, and make sure to include a link to your website.
Social Media Marketing: Be Social
Social media marketing is all about interacting with people, and that’s something you’re already good at as a business owner. Get your accounts set up, dig into a little trial-and-error, and get your social media presence off the ground. It’s a great way to build a community around your brand and your business and drive customers through your doors.